
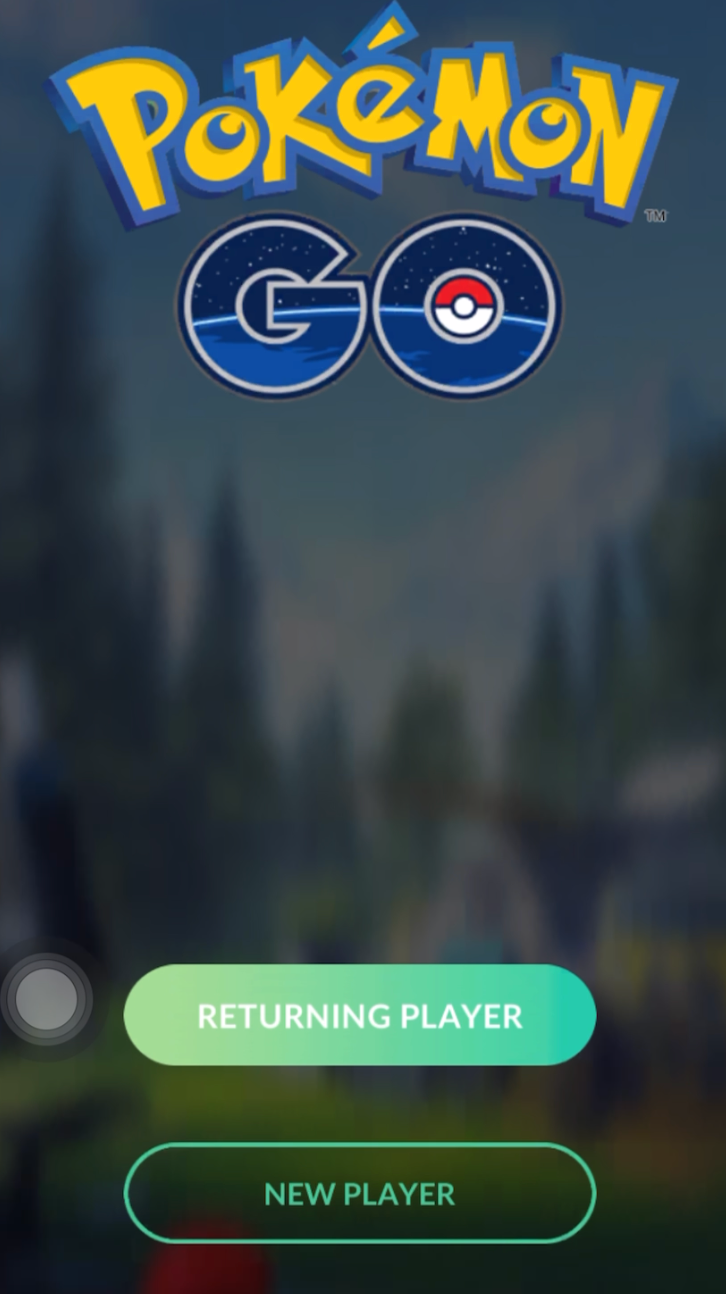
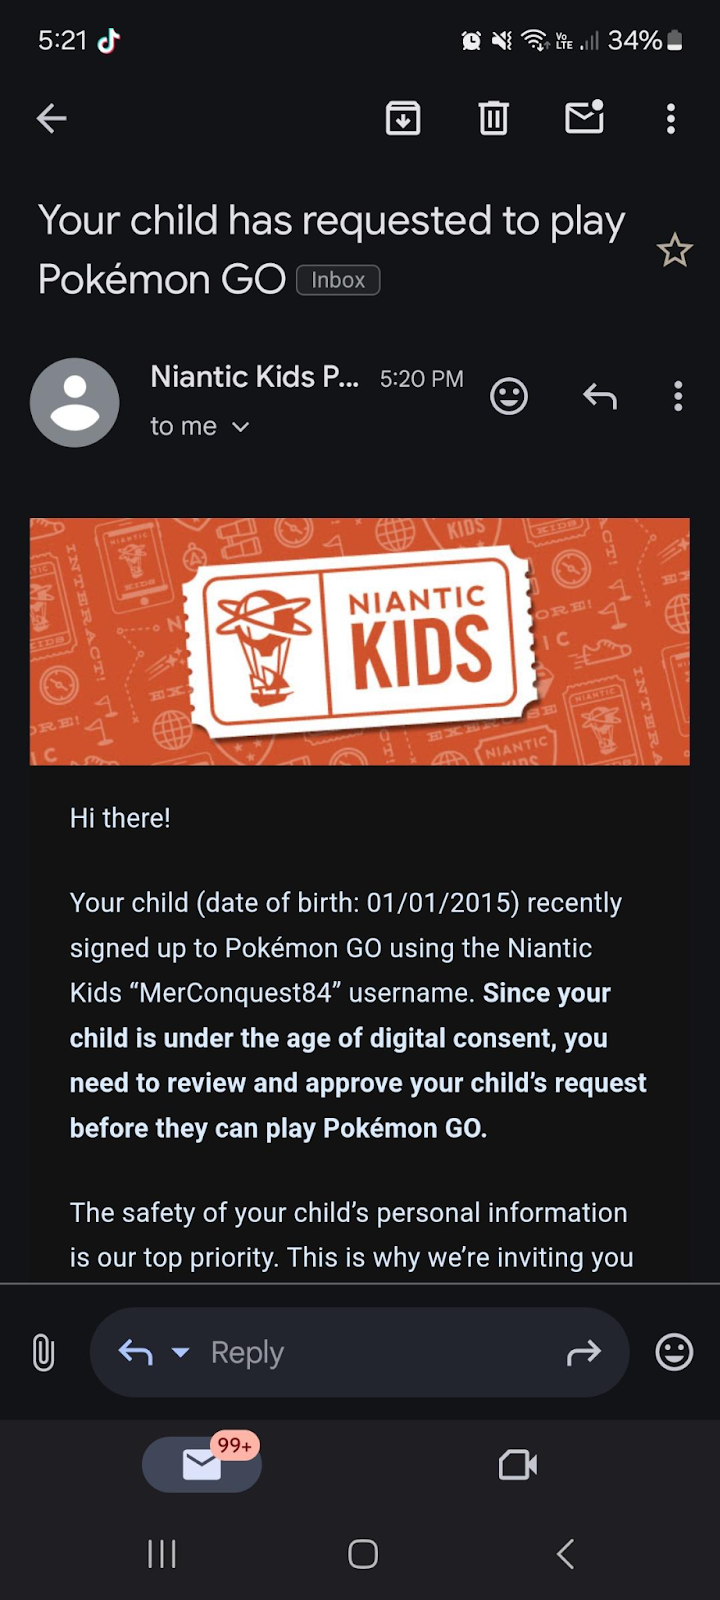
पहली बार Pokémon GO लॉन्च करने पर, आपसे अपने बच्चे की जन्म तारीख दर्ज करने और नया खिलाड़ी विकल्प चुनने के लिए कहा जाएगा. अगर आपके बच्चे की उम्र 13 साल से कम है (या आपके क्षेत्र में डिजिटल सहमति की उम्र से कम है), तो उन्हें माता-पिता या अभिभावक द्वारा प्रबंधित खाते से खेलना होगा.
Niantic Kids ऐसे Niantic प्रोडक्ट में लॉगिन करने का तरीका है, जिसे माता-पिता की सहमति लेने और हमारे गेम्स एक्सेस करते समय बच्चों की निजी जानकारी सुरक्षित रखने के लिए डिज़ाइन किया गया है.
इस गाइड में, हम इस विकल्प का इस्तेमाल करने के तरीके पर फ़ोकस करेंंगे.
Niantic Kids अकाउंट बनाना
- नया खिलाड़ी पर टैप करें
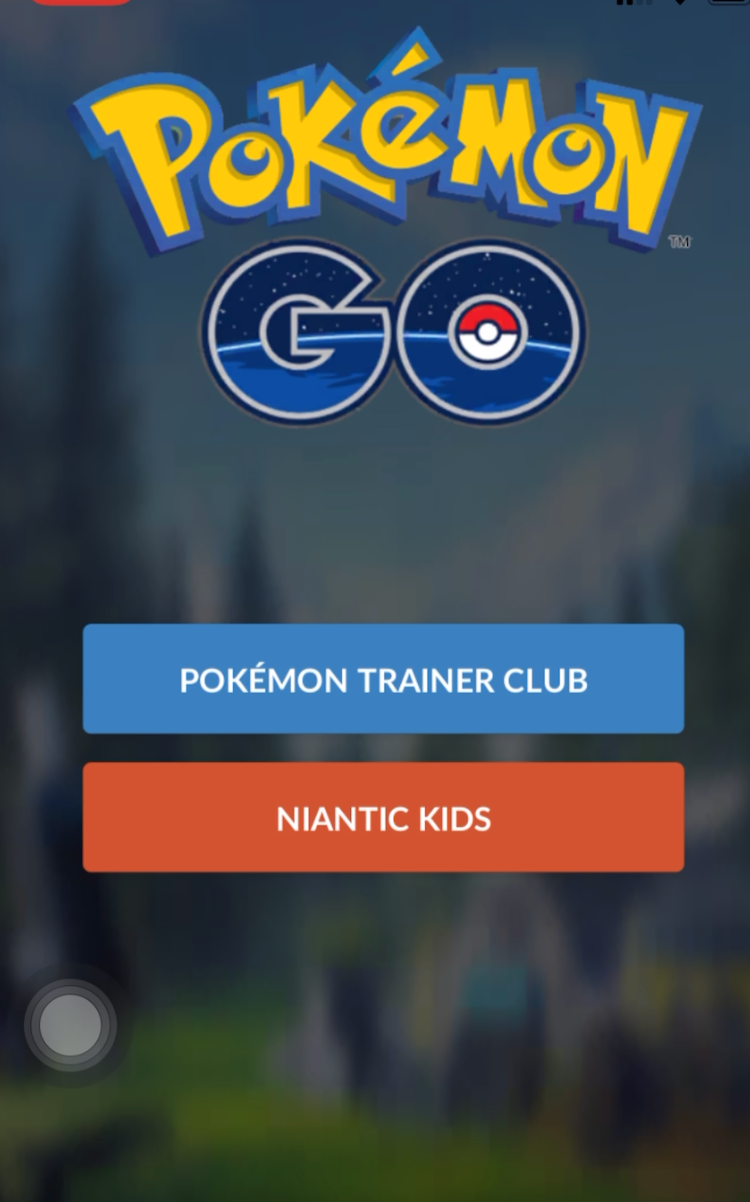
- Niantic Kids पर टैप करें. आपको Niantic Kids लॉग इन स्क्रीन पर भेजा जाएगा.
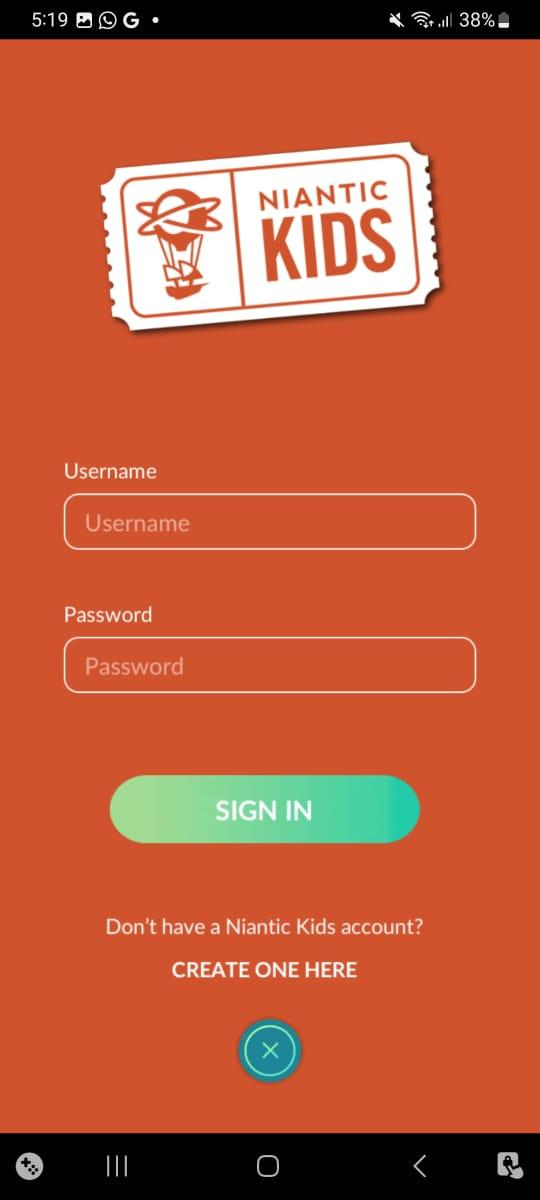
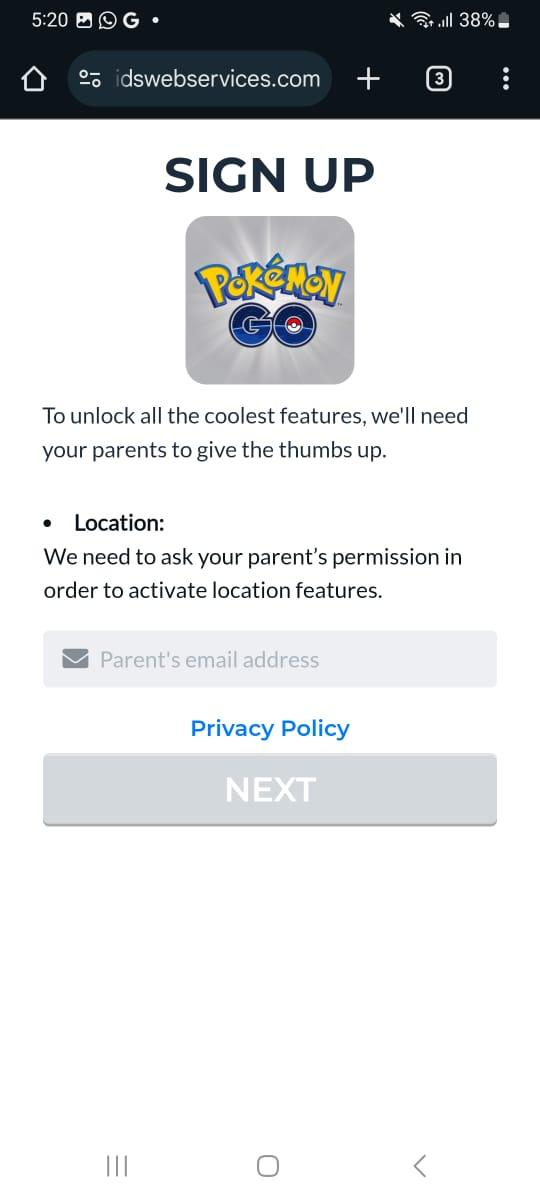
- अकाउंट बनाने की स्क्रीन पर रीडायरेक्ट होने के लिए “क्या आपके पास Niantic अकाउंट नहीं है?” सवाल के अंतर्गत “यहां अकाउंट बनाएं” विकल्प पर टैप करें.
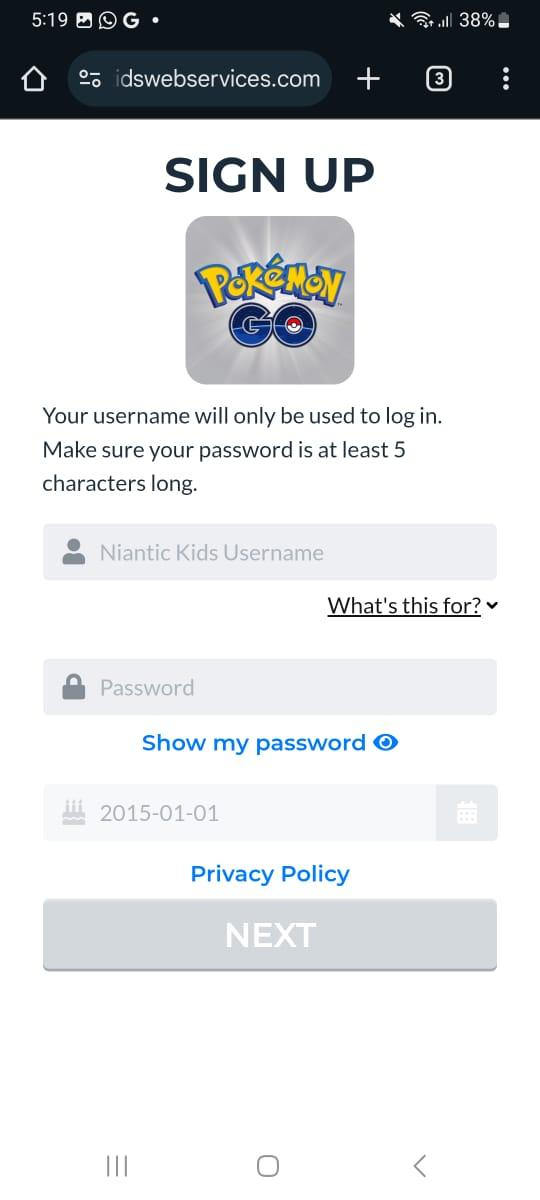
कृपया ध्यान दें: इस यूज़रनेम का इस्तेमाल केवल लॉग इन करने के लिए किया जाएगा और यह आपके बच्चे के ट्रेनर का नाम नहीं होगा. यूज़रनेम और पासवर्ड सेट करने के बाद, अभिभावक या माता-पिता का ईमेल पता बताएं ताकि हाल ही में बनाए गए अकाउंट को वैलिडेट किया जा सके.
- अभिभावक या माता-पिता होने के नाते, आपको वेरिफ़िकेशन के उद्देश्य से अपने बारे में कुछ निजी जानकारी देनी होगी, जैसे कि आपके क्रेडिट कार्ड का विवरण या आपके सोशल सिक्योरिटी नंबर के आखिरी चार अंक, जैसा भी कानूनन ज़रूरी हो.
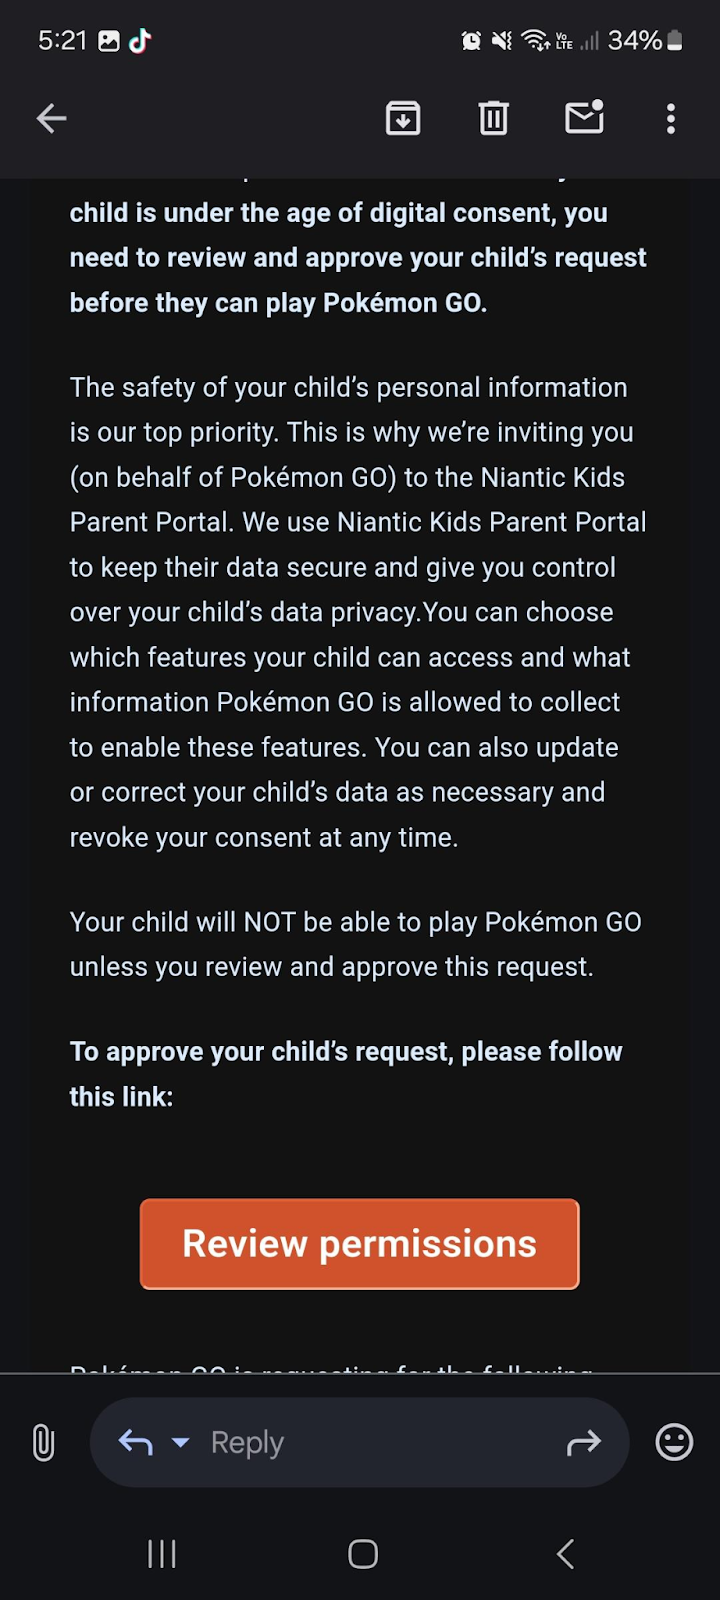
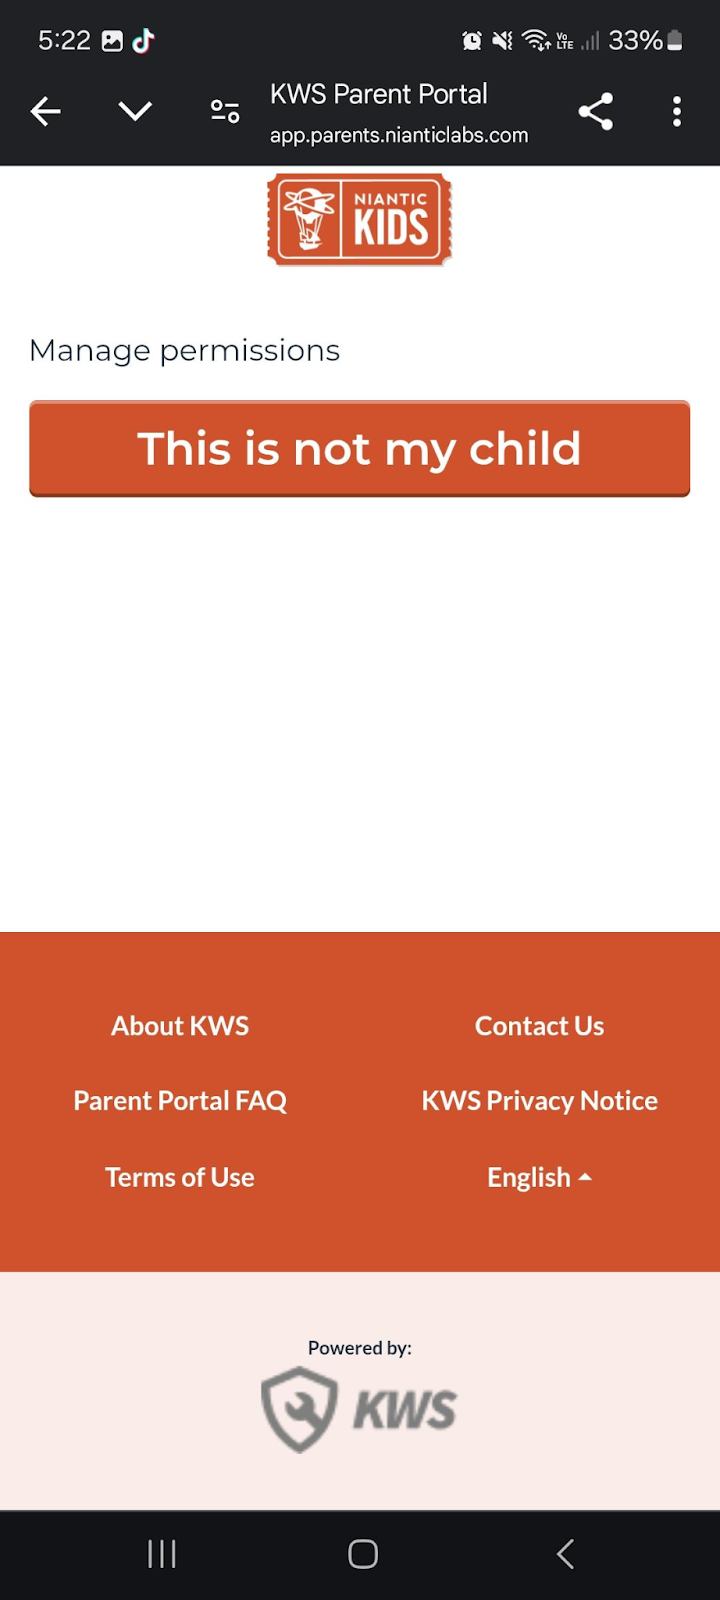
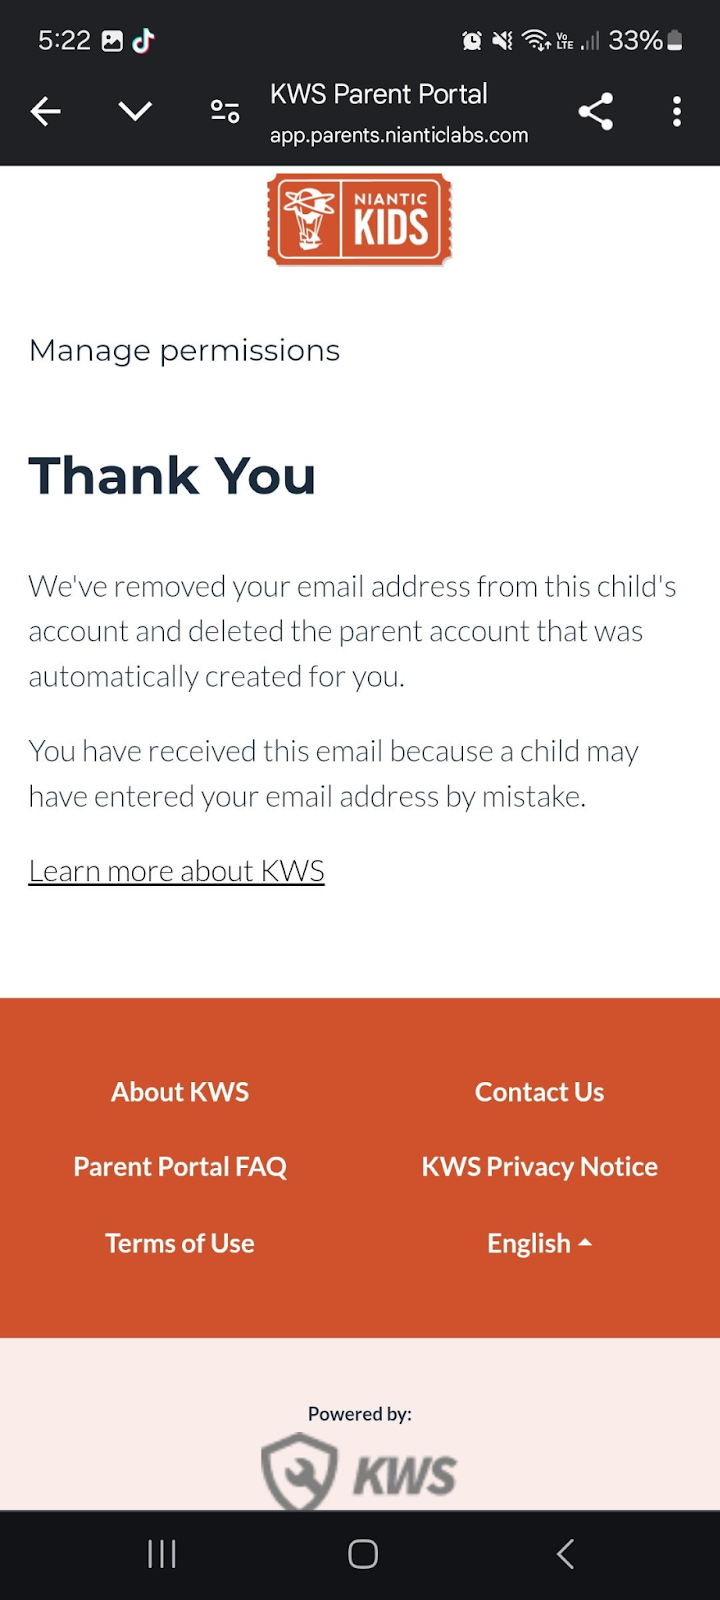
a. अगर आप अकाउंट बनाने के लिए अपनी सहमति नहीं देते हैं, तो आप “यह मेरा बच्चा नहीं है” विकल्प चुन सकेंगे और इससे आपका ईमेल पता Niantic Kids के सिस्टम से अपने आप हट जाएगा और आपके बच्चे को Pokémon GO खेलने की अनुमति नहीं मिलेगी. - वेरिफ़ाई हो जाने पर, आप अपने बच्चे का अकाउंट बनाने के साथ ही गेम मेंं उनके अनुभव को नियंत्रित करने के लिए अपने लिए भी एक पेरेंट अकाउंट बना सकेंगे. यह ई-वेरिफ़िकेशन थर्ड-पार्टी प्रोवाइडर द्वारा किया जाता है.


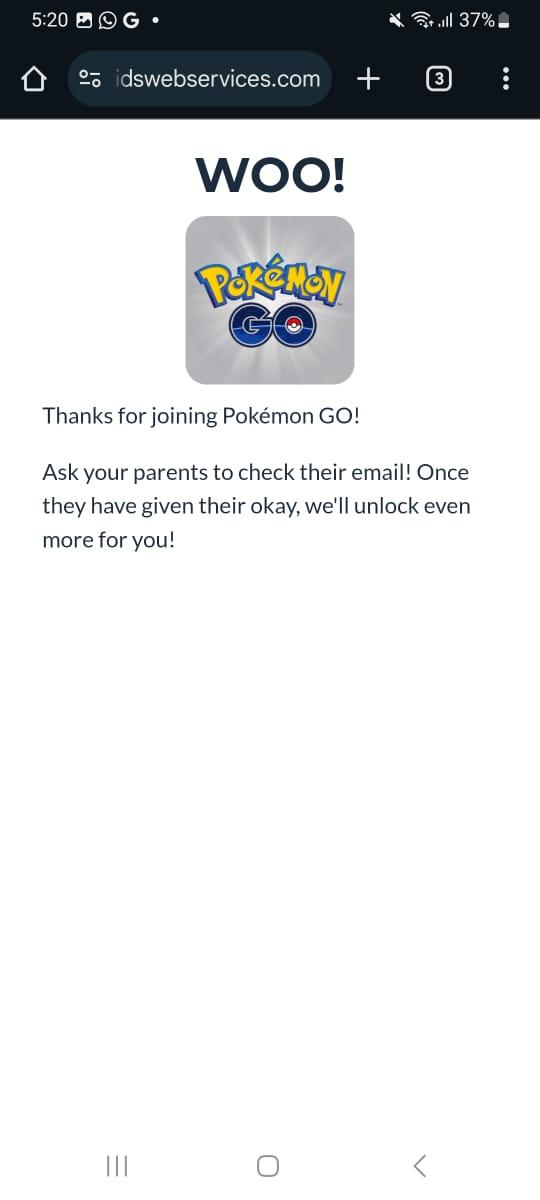
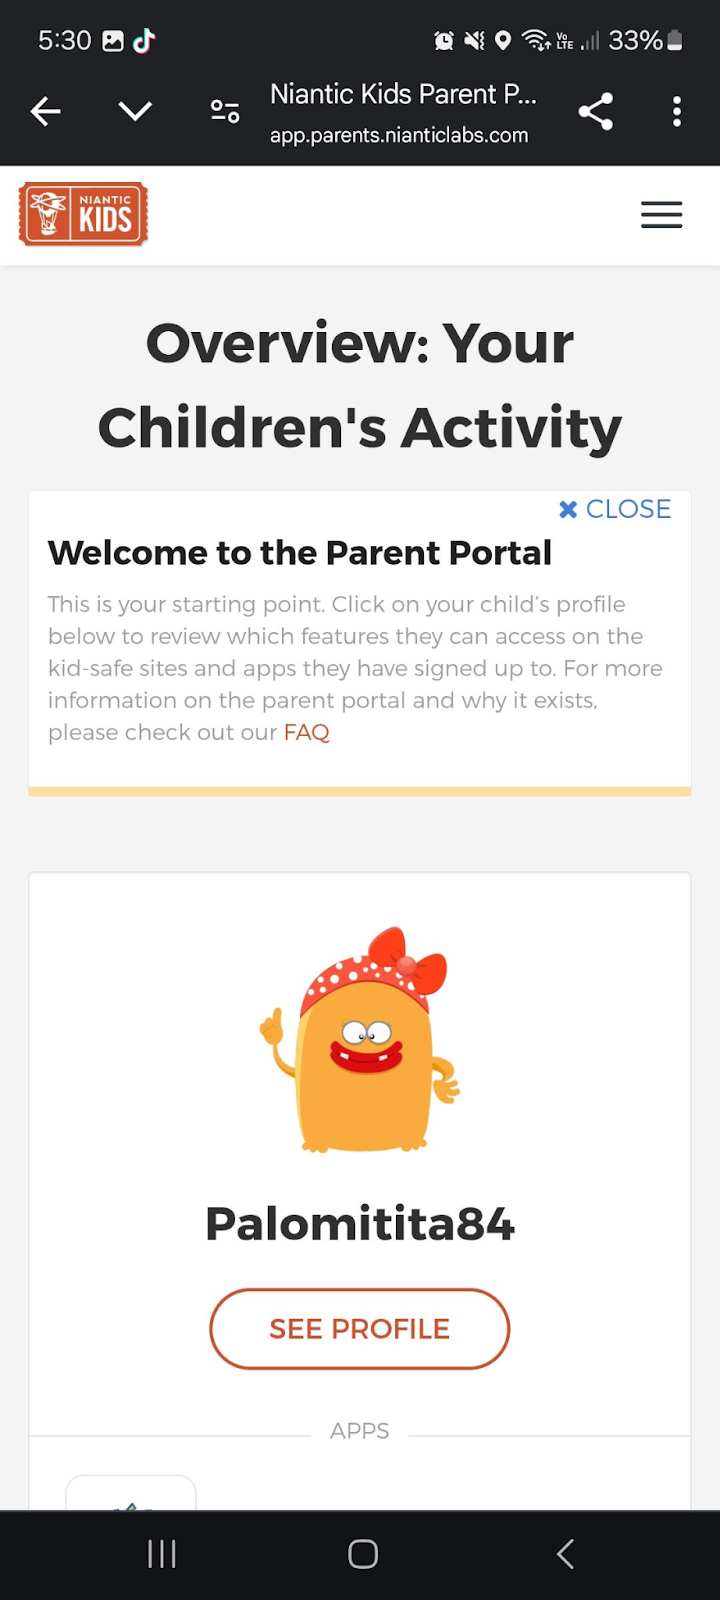
- बच्चे का अकाउंट सेट अप करने और अपनी जानकारी दर्ज करने के बाद, Niantic Kids पेरेंट पोर्टल पर जाएं और अपने नए बनाए गए अकाउंट में साइन-इन करें.
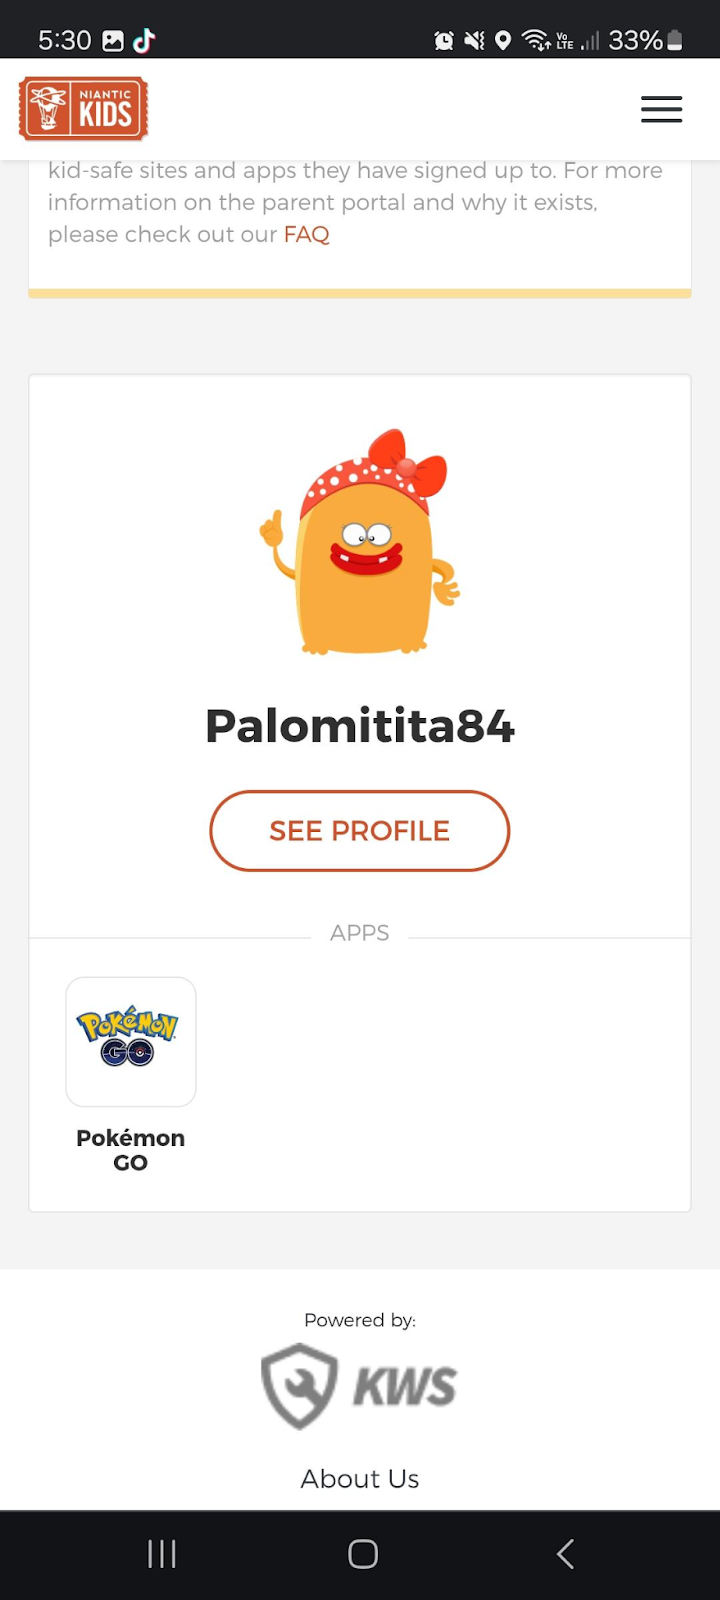
- खेलने के लिए ज़रूरी अनुमतियां दें और अपनी प्राथमिकताओं के अनुसार गेम के वैकल्पिक फ़ीचर्स चालू करें.
- Niantic Kids अकाउंट का सेटअप अब पूरा हो गया है. आपका बच्चा आपके बनाए हुए लॉगिन क्रेडेंशियल्स का इस्तेमाल करके Pokémon GO खेलना शुरू कर सकता है.
पेरेंटल कंट्रोल और चाइल्ड अकाउंट की अनुमतियां
Niantic Kids अकाउंट को चालू किए जाने के लिए अपनी सहमति देने पर, आप अपने बच्चे की गतिविधियों की समीक्षा करने के लिए Niantic Kids पेरेंट पोर्टल एक्सेस कर सकते हैं.
- आपNiantic Kids पेरेंट पोर्टल वेबसाइट एक्सेस करें
- “पेरेंट पोर्टल में साइन इन करें” विकल्प ढूंढें
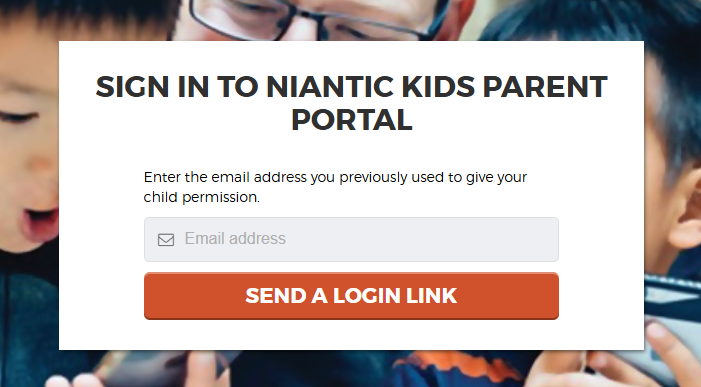
- आपको साइन इन स्क्रीन पर रीडायरेक्ट किया जाएगा, जहां आपको अपना निजी (पेरेंट) ईमेल पता दर्ज करना होगा और आपको ईमेल के ज़रिए एक यूनिक लॉगिन लिंक मिलेगा.
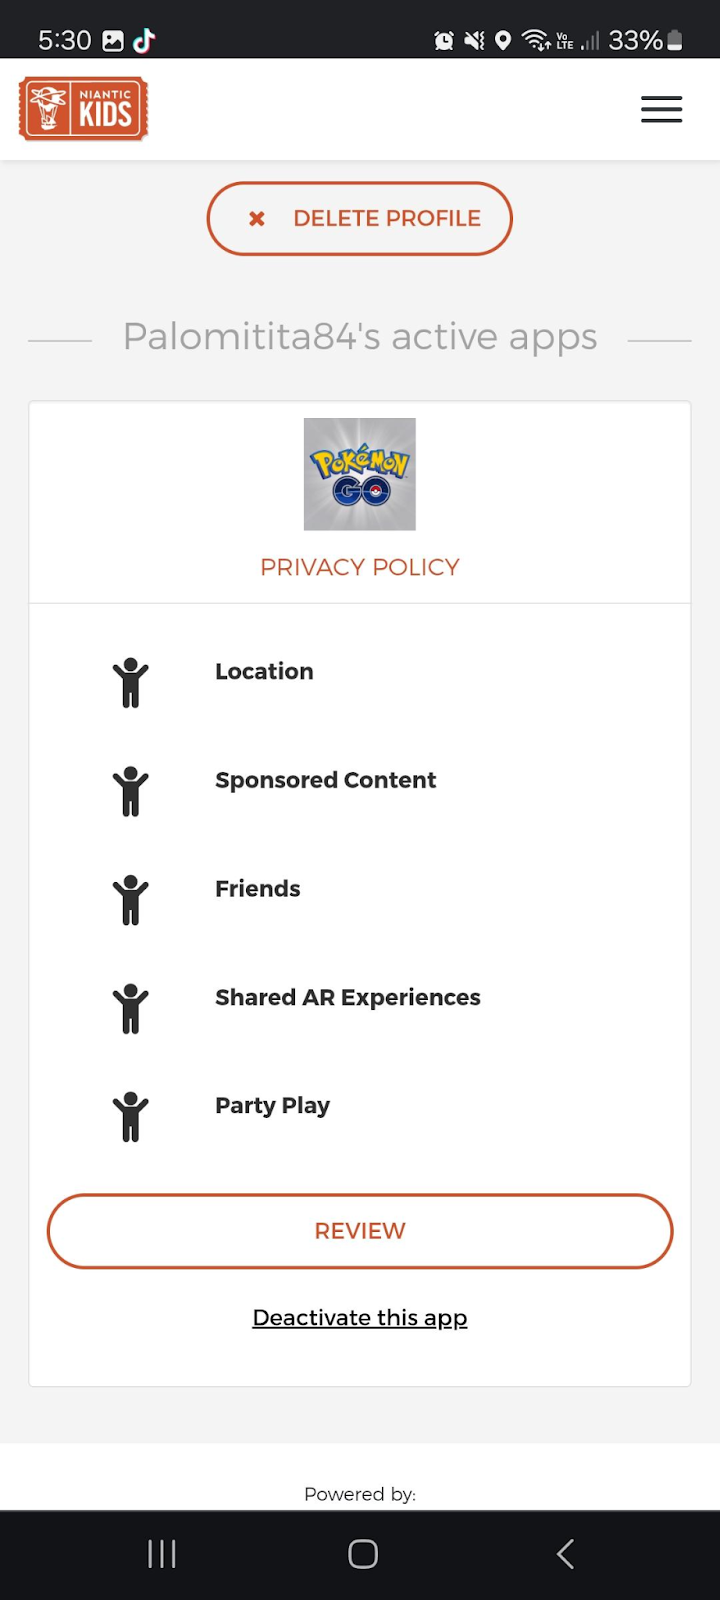
पेरेंट पोर्टल आपको किसी भी समय अपने चाइल्ड अकाउंट के लिए आगे दिए गए फ़ंक्शन चालू/बंद करने की अनुमति देता है:
स्थान (ज़रूरी है): आपके बच्चे को Pokémon GO का इस्तेमाल करने के लिए इस अनुमति की ज़रूरत होगी.
प्रायोजित कॉन्टेंट: इससे बच्चे को गेम में मौजूद कॉन्टेंट एक्सेस करने की अनुमति मिलती है जिसमें बाहरी कंपनियां दिखाई देती हैं
दोस्त: इससे आपके बच्चे दोस्त फ़ीचर (ट्रेनर प्रोफ़ाइल की दृश्यकता, गिफ़्ट एक्सचेंज, हर हफ़्ते की चुनौती, वगैरह) का इस्तेमाल कर सकते हैं. नए दोस्त जोड़े जाने पर माता-पिता को एक ईमेल मिलता है.
शेयर किए गए AR अनुभव: Niantic को अनुमति देने से आपके बच्चे के डिवाइस कैमरा से जियोस्पेटियल डेटा इकट्ठा किया जाएगा.
पार्टी प्ले: अपने बच्चे को पार्टी प्ले फ़ीचर (ग्रुप प्ले सेशन) एक्सेस करने दें. आपका बच्चा किसी पार्टी में तभी हिस्सा ले पाएगा अगर होस्ट उसकी 'दोस्त सूची' में हो. आपका बच्चा दूसरे पार्टी सदस्यों के साथ लोकेशन शेयर नहीं कर पाएगा.
ध्यान दें: कुछ फ़ीचर चाइल्ड अकाउंट के लिए डिफ़ॉल्ट रूप से उपलब्ध नहीं हैं और उन्हें मैन्युअल रूप से चालू नहीं किया जा सकता. इनमें ये शामिल हैं, लेकिन ये इन्हीं तक सीमित नहीं हैं:
ऑनलाइन स्थिति: चाइल्ड अकाउंट से दूसरों की ऑनलाइन स्थिति नहीं देखी जा सकती और उनकी स्थिति दोस्तों को दिखाई नहीं देगी—चाहे इसकी सेटिंग चालू हो या बंद.
रूट – बनाना: चाइल्ड अकाउंट 'रूट' नहीं बना सकते.
रिवॉर्ड रोड: यह फ़ीचर चाइल्ड अकाउंट के लिए एक्सेस करने योग्य नहीं है.
खरीदारी और टिकट संबंधी निर्देश
गेम में शॉपिंग
चाइल्ड अकाउंट गेम में खरीदारी के ज़रिए, गेम में टिकट वाले इवेंट (जैसे कि समय-सीमा वाले रिसर्च या दूसरे खास इवेंट) खरीद सकते हैं, बशर्ते माता-पिता या अभिभावक ने डिवाइस लेवल पर ऐप में खरीदारी करने को प्रतिबंधित न किया हो.
वेब स्टोर
वेब स्टोर चाइल्ड अकाउंट के लिए उपलब्ध नहीं है. सभी खरीदारियां गेम में खरीदारी के ज़रिए की जानी चाहिए, बशर्ते डिवाइस स्त्र पर पेरेंटल कंट्रोल मौजूद हों.
गेम में सशुल्क टिकट वाले इवेंट का उपहार देना
उपहार देना सिर्फ़ दोस्तों के लिए उपलब्ध है, इसलिए इस फ़ीचर का इस्तेमाल करने से पहले चाइल्ड अकाउंट दोस्त सुविधा को चालू किया जाना चाहिए
ध्यान दें: आपको उस अन्य प्लेयर का कम से कम बहुत अच्छा दोस्त होना चाहिए, जिसके लिए आप वर्चुअल ईवेंट टिकट खरीद रहे हैं.
लाइव इवेंट टिकट
चाइल्ड अकाउंट को “इवेंट” टैब दिखाई नहीं देगा, जिसमें GO Fest या GO Tour जैसे इवेंट होते हैं. हालांकि, माता-पिता अभी भी अपने बच्चे के लिए लाइव इवेंट के टिकट खरीद सकते हैं, अगर उनका अपना Pokémon GO अकाउंट ही चाइल्ड अकाउंट के लिए पेरेंट ईमेल है.
चाइल्ड अकाउंट के लिए लाइव इवेंट टिकट खरीदने के तरीके पर विस्तृत निर्देशों के लिए, कृपया नीचे दिए गए चरण देखें:
- माता-पिता या अभिभावक को अपने Pokémon GO अकाउंट में लॉग इन रहना होगा, जो उनके बच्चे के अकाउंट से लिंक किया गया है.
- पेरेंट अकाउंट में, मैप व्यू में मुख्य मेनू बटन पर टैप करें.
- स्क्रीन के ऊपरी दाएं कोने में, “इवेंट” पर टैप करें.
- इसके बाद वाले पेज पर, ऐसे लाइव इवेंट देखें और चुनें जहां टिकट उपलब्ध हैं.
- "टिकट खरीदें" पर टैप करें.
- अगर उपलब्ध हों तो तारीखें और टाइम स्लॉट चुनें. ग्रे-आउट हो चुके विकल्प का मतलब है कि वे खत्म हो चुके हैं. फिर अगले पेज पर जाएं.
- अपना मोबाइल सर्विस प्रोवाइडर चुनें.
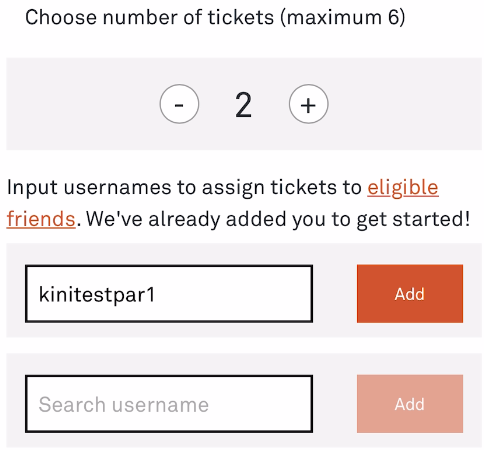
- अब आप जितने टिकट खरीदना चाहते हैं उनकी संख्या प्रबंधित कर सकते हैं. डिफ़ॉल्ट अकाउंट आपके अकाउंट पर सेट हो गया है और आप बॉक्स में अपने बच्चे के अकाउंट का ट्रेनर नाम दर्ज करके जोड़ें पर टैप कर सकते हैं.
ध्यान दें: अगर गड़बड़ी का कोई भी मैसेज दिखाई देता है, तो कृपया इन चीज़ों को दो बार जांच लें:
कृपया सुनिश्चित करें कि स्पेलिंग सही है
यह वेरिफ़ाई करें कि माता-पिता/अभिभावक के Pokémon GO अकाउंट, रिकॉर्ड में मौजूद ईमेल पते से मेल खाता है
- वे ऐड-ऑन चुनें जिन्हें आप खरीदना चाहते हैं.
- टिकट खरीदारी के लिए ट्रेनर का नाम दो बार जांच लें.
- कन्फ़र्म करें कि तारीख की जानकारी सही है. आप इस पेज पर ऑर्डर में बदलाव भी कर सकते हैं.
- भुगतान पेज पर, अपनी पसंदीदा भुगतान विधि चुनें और लेन-देन को पूरा करें.
- भुगतान के बाद, आपको एक कन्फ़र्मेशन ईमेल मिलेगा.
- जब आप “इवेंट”पेज पर फिर से टैप करेंगे, तो स्थिति बदलकर हिस्सा ले रहे हैं हो जाएगी.
टिकट खरीद लेने पर और स्थिति बदलकर हिस्सा ले रहे हैं होने पर, अतिरिक्त टिकट नहीं खरीदे जा सकते हैं और इवेंट के शेड्यूल में बदलाव करने की अनुमति नहीं होगी. अगर आप अतिरिक्त टिकट खरीदना चाहें, तो कृपया ग्राहक सहायता से संपर्क करें. ऐड-ऑन तब तक खरीदे जा सकते हैं, जब तक कि वे खत्म नहीं हो जाते.
अन्य महत्वपूर्ण नोट:माता-पिता या अभिभावक के साथ होने पर, बच्चे इवेंट में हिस्सा ले सकते हैं.
स्टैंडर्ड अकाउंट के विपरीत, बच्चे का यूज़रनेम चुनने के लिए माता-पिता और बच्चे को दोस्त होने की ज़रूरत नहीं है.


अक्सर पूछे जाने वाले सवाल
Q: मैं कैसे देखूं कि मेरे बच्चे के अकाउंट से कौन-सा ईमेल पता जुड़ा हुआ है?
A:
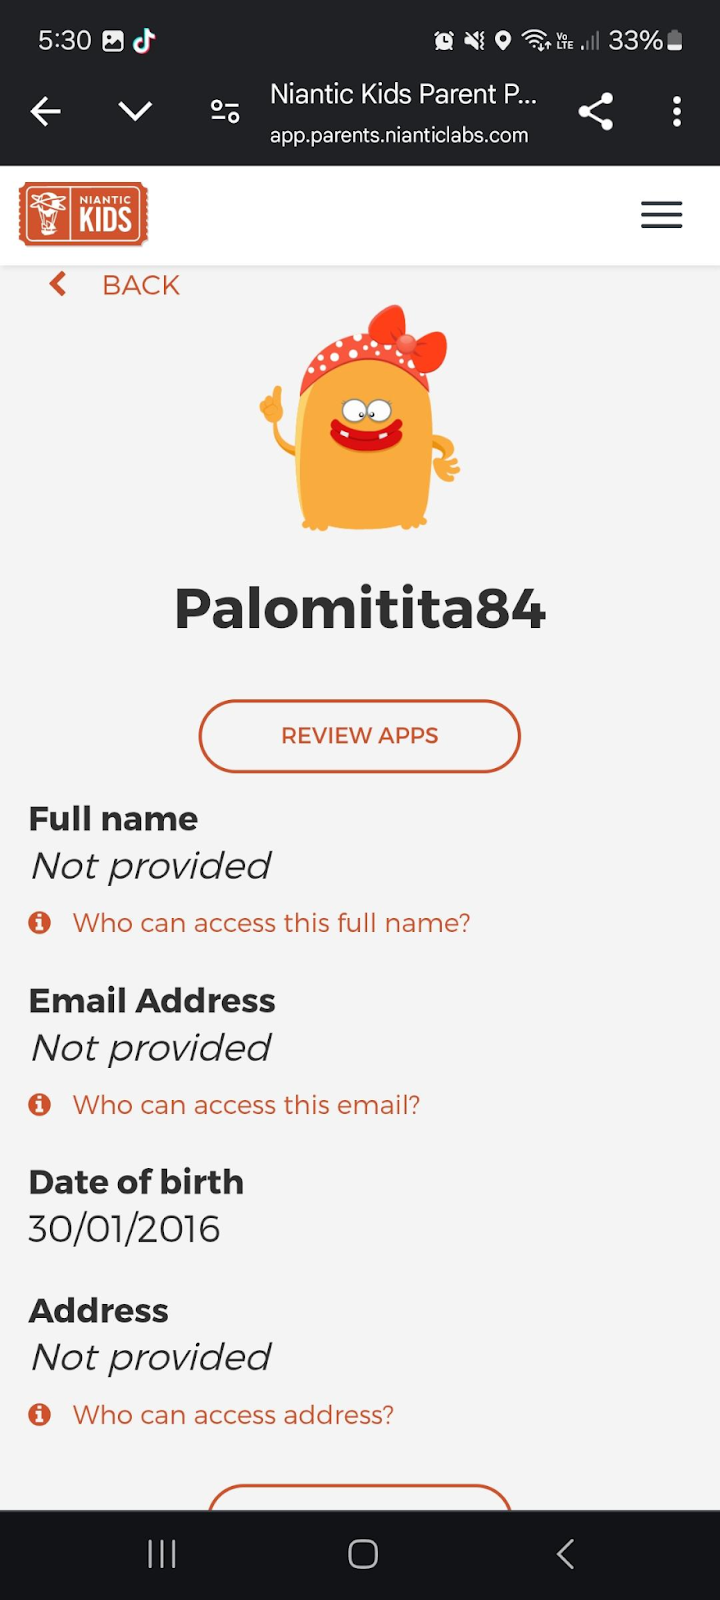
कृपया अपने पेरेंट क्रेडेंशियल्स का इस्तेमाल करके Niantic Kids पोर्टल में लॉग इन करें.
अगर आप भूल गए हैं कि आपने किस ईमेल पते का इस्तेमाल किया था, तो अपने इनबॉक्स में इस पते से आया हुआ एक्टिवेशन ईमेल खोजें:noreply@bounce.parents.nianticlabs.com
लॉग इन करने के बाद, रजिस्टर्ड ईमेल पता देखने के लिए 'प्रोफ़ाइल' पर टैप करें.
Q: अगर मुझसे पेरेंट लॉगिन के लिए इस्तेमाल किया गया ईमेल पता खो जाता है तो मैं क्या करूं?
A: कृपया KWS (Kids Web Services) से उनके सहायता फ़ॉर्म के ज़रिए सीधे संपर्क करें:
Niantic Kids से जुड़े दूसरे सवालों के लिए, कृपया Niantic Kids अकाउंट के बारे में अक्सर पूछे जाने वाले सवाल देखें.