
Pokémon GO's AR photography feature, GO Snapshot, lets you bring your favorite Pokémon into the real world for unforgettable pictures.
For the best user experience, make sure AR is turned on in your settings menu. To use AR mode, your device needs to meet the following requirements:
iOS: AR mode is only available for iPhone 6s and newer models running on iOS 11+.
Android: AR mode is only available to devices running Android 7.0+ and can support ARCore. Supported devices must install ARCore from the Google Play Store. A list of supported devices can be found here.
If your device doesn’t support AR, you can still take photos of your Pokémon however your background will be a static image.
Getting Started with GO Snapshot
There are multiple ways to initiate a GO Snapshot:
Encountering a wild Pokémon: During a wild Pokémon encounter, tap the AR toggle at the top right corner of the screen to activate AR mode. Learn more about taking photos of wild Pokémon.
Taking a photo of a Pokémon in your collection: Go to your Pokémon storage and select the Pokémon you want to photograph. Tap the camera icon on the Pokémon detail page to enter AR mode.
Taking a photo of your Buddy Pokémon: Pull up your Buddy page by tapping your Buddy’s image in the bottom left corner of the Map View, or tap your Buddy from your Trainer Profile. Tap the Play! button to get started. Learn more about Buddy Pokémon.
Selecting Pokémon
Once you have entered into the GO Snapshot experience, you will be prompted to select up to three Pokémon to be a part of your photo. Pokémon GO will provide you with several different sets of suggested Pokémon on the Suggested tab.
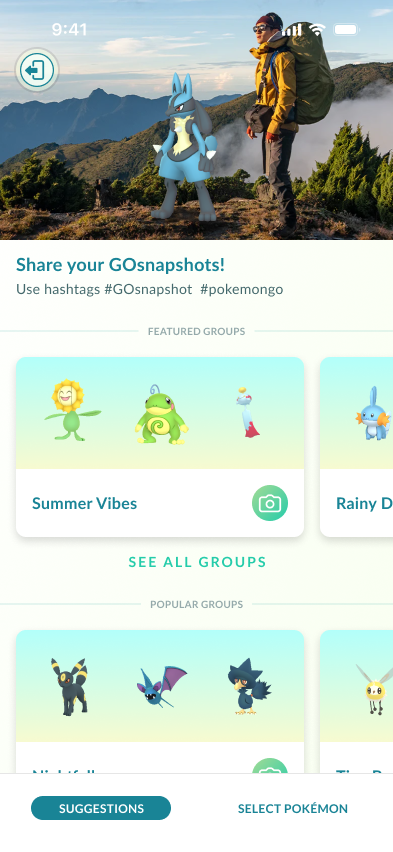
To select a group of suggested Pokémon, tap on the camera icon to get started.
To manually select your Pokémon, tap Select Pokémon to open up your Pokémon storage.
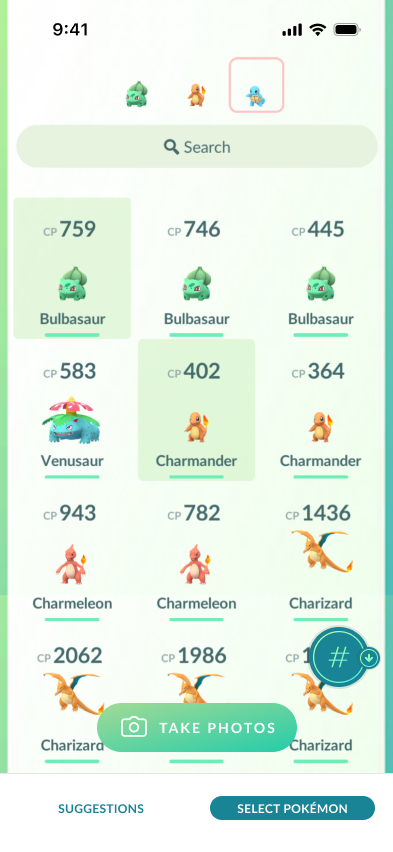
Tap any to select any 3 Pokémon. When you’re ready, tap the Take Photos button to begin.
Placing your Pokémon
Once you have selected the Pokémon subjects for your GO Snapshot photos, you’ll need to place the Pokémon in your space. AR mode works best with a well-lit area for the Pokémon to appear.
To get started, slowly pan your camera around your surroundings until you see yellow footsteps and sparkling ground effects. This indicates a suitable area for photos.
Next, place your Pokémon exactly where you’d like to start composing your GO Snapshot.
Choose which Pokémon to place in that spot by tapping it in the Selection Bar at the bottom of the screen:

Tap the + in the selection bar to change the Pokémon selections.
There are a few ways to place your Pokémon in the area:
Tap the footsteps to place your Pokémon in that spot.
Drag the Pokémon from the selection bar along the bottom of the screen into place. This option can be useful if you’re trying to place your Pokémon on top of something.
Place Flying-type Pokémon in the air by tilting the phone to position the blue horizon line, and either tap or drag to place the Pokémon.
Once your Pokémon is in place, you can now move around to find the best angles for your shot.
Interacting with your Pokémon
There are a few things you can do to interact with your Pokémon for the perfect shot:
Tap your Pokémon once and they’ll strike a pose.
Swipe across your Pokémon to have them turn to face you.
Tap the rotation icon to enter play mode, and drag the toy around the Pokémon to draw its attention. Tap on any Pokémon in the scene to select them.
Recall a Pokémon by opening the Pokémon selection menu at the bottom of the screen, and tapping on the Pokémon.
When you’re ready, tap the Camera button to take your GO Snapshot. Photos are saved to your device’s memory, even if you take multiple. Note that photo permissions must be enabled for photos to be saved to your device.
Tap the exit button in the upper-left corner and you’ll see a gallery of your photos from that session.
Surprise encounters with Pokémon
Occasionally, while you are taking a photo in GO Snapshot, a Pokémon may make a surprise appearance in your picture! This encounter will save two versions of your photo, one with the surprise Pokémon appearance and one without.
After you view the photo in your gallery, the Pokémon that appeared in your photo will also appear on the Map. Tap it to enter into an encounter with that Pokémon and get an opportunity to catch it. For certain Pokémon, these surprise encounters are the only way to catch that Pokémon.
Decorating a Photo
After you’ve taken a photo, you can add a special category of Stickers, called Flair, to your photos.
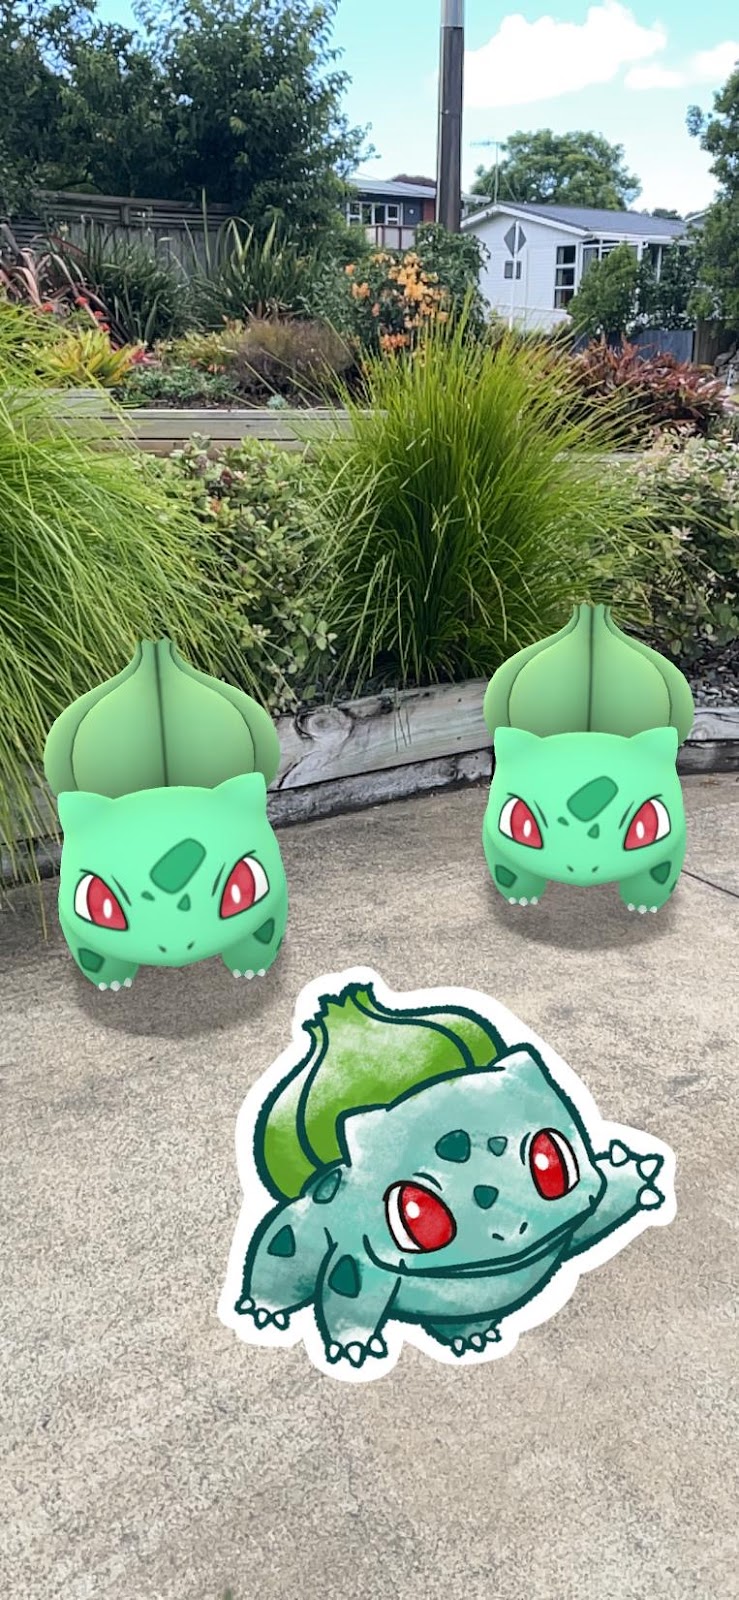
To add Flair to your photos, select a photo, then use the Sticker menu to select a sticker. You can take the following actions with Flair:
Tap photo to place the Flair
Use two fingers to rotate the Flair
Pinch in or out with fingers to enlarge or reduce
Tap X to remove the Flair.
Once you’re happy with your photo, tap the exit button in the top left to either ‘Save’ or ‘Don’t Save’. If you Save a photo, any stickers you add as Flair will be removed from your Sticker inventory.
Note that Flair can only be added to photos right after a GO Snapshot session.
Camera Settings
You can change the following settings by tapping the three-dot menu at the top right of screen:
Reality Blending: Toggle on to allow Pokémon in AR to interact with your surroundings and move behind objects. This can also be toggled when you’re taking photos by tapping the Pikachu button in the top right corner.
Burst Mode: Toggle on to take three pictures every time you tap the shutter button.
- Self Timer: Apply a 5- or 10-second delay before taking a picture.